Shopify
Nelo is fully integrated with Shopify as a Payments App.
Installation
The Nelo app does not appear in the Shopify App Store. Instead, to install the Nelo app, simply follow these steps:
- Navigate to this page
- Click "Add app"
- Choose the account on which you want to install Nelo.
- Click "Install App"
- Click "Activate Nelo"
Nelo is now live. It is ready to start processing payments on your store and will appear as a payment option for your customers on the checkout screen.
To enable/disable Nelo at any time, navigate from your admin home page to Settings -> Payments -> Alternative Payments -> Nelo -> Deactivate Nelo.
How it works
When a user selects Nelo as a payment option from the checkout screen, they will be redirected to the Nelo checkout flow. Here the user either signs up for Nelo (if it is their first time using the service) or logs in to an existing account. Nelo makes a real time decision about whether to approve the purchase. If it is approved, the user can confirm the payment and is then redirected back to your order confirmation page. If either Nelo rejects the purchase, or if the user exits the flow, they will be redirected back to the checkout page where they can select an alternate payment method.
When the user completes the flow successfully, the payment will be authorized. If your Shopify payments are set up to 'auto-capture' (most Shopify merchants have this by default) then the payment will also be captured at the same time. You also have the option of choosing manual capture, which allows you to capture the payment at later date - for example when the order is shipped.
Orders & Refunds
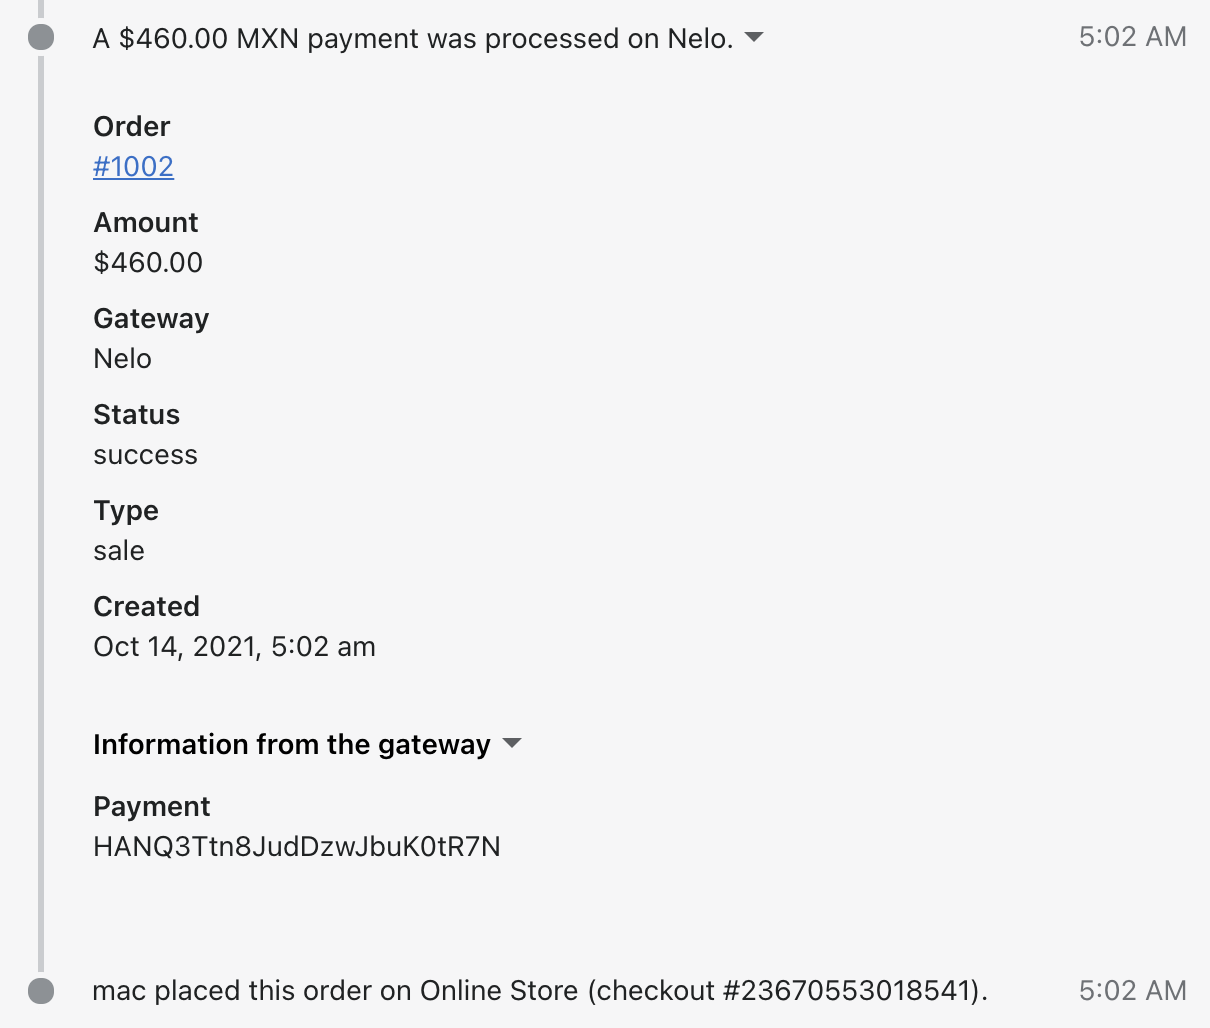
On the order details page, you will see a note indicating that the payment for this order was processed by Nelo. Here you can also find a payment ID, which Nelo can use to easily identify your order in case you need support.
Refunds work just as you would expect. Simply follow the Shopify refund flow as you normally would for any other payment method. You also have the option of initiating refunds from Nelo's Merchant Dashboard.

Promotional Messaging
We see higher order conversion when customers know that buy-now-pay-later is an option before they even reach checkout. By including a small piece of HTML and JavaScript on your product and cart pages, we can surface UI elements showing exactly what the installment breakdown will be for a given purchase, e.g. "4 payments of $350" for a $1400 subtotal.
To include these elements, first navigate to your product and cart template pages. From the admin dashboard homepage, choose: Online Store -> Customize -> hree dots in upper left] - -> Edit Code. The pages you will want to edit are the product-template.liquid and cart-template.liquid files. Continue to the Promotional Messaging section of this guide for further instructions on how to include those elements. Since every Shopify merchant uses slightly different themes and page layouts, these instructions often require adaptation for your site. Please do not hesitate to reach out to Nelo for help in getting this set up.
Updated 21 days ago